Setting up a customizable decentralized blog with an ENS name and IPFS desktop.
In this guide, we will build a simple, easily updatable, and customizable blog website. It will be hosted on IPFS and linked to an ENS name. For this guide we will be using the Eleventy static site generator. The generator will output the entire website into static files that can be uploaded and ran on IPFS as a decentralized website. Using a static site generator is not required, but makes it easier to develop and make changes to your blog. You could also look for static template online and use a code editor like VS Code to make changes to the static files.
Download the Eleventy base blog example
For now let’s use the static site generator and create a simple blog similar to vitalik.eth.limo.
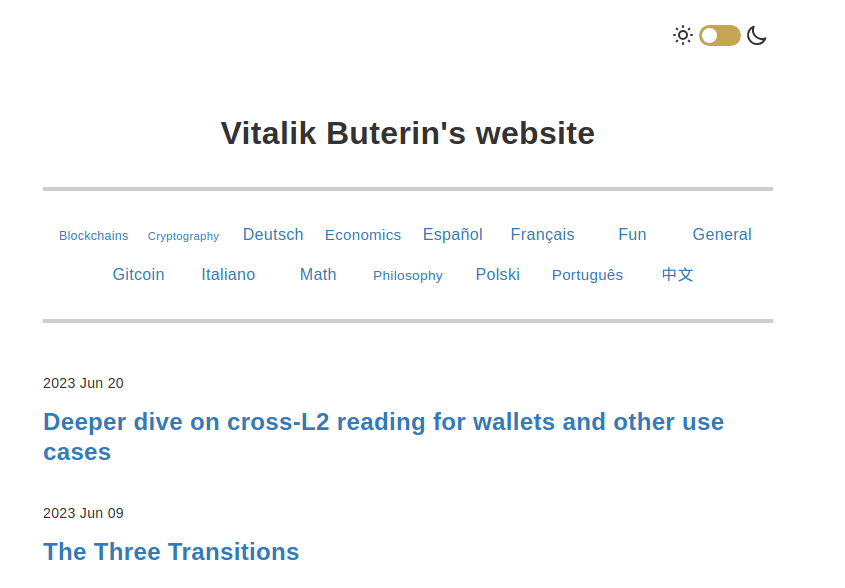
We will use the Eleventy base blog starter template to get going. It’s not exactly the same layout or generator, if any, that Vitalik.eth uses. However, you can understand the concepts behind it. View a live demo of the simple blog site we will make in this proof of concept. There are other Eleventy starter templates you could try out with more features and design elements. We will keep it simple for the purposes of this guide.
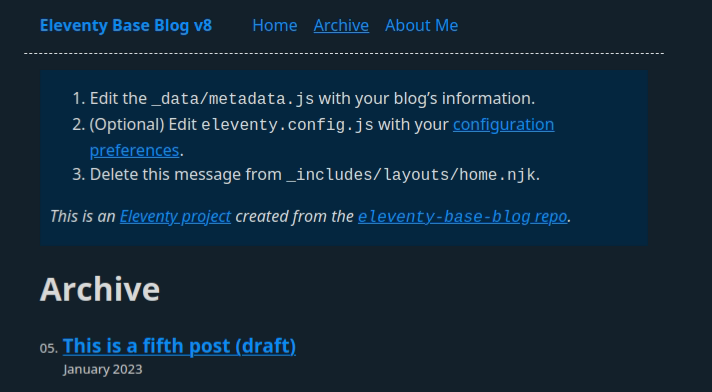
Visit the Eleventy base blog starter and click the download link and unzip it to the folder you would like.
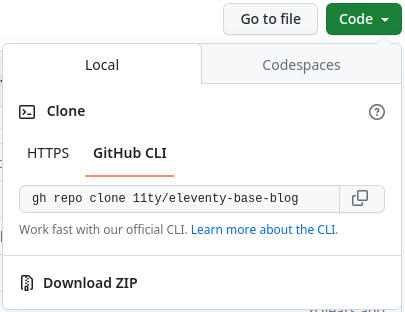
If you have git installed, you can also clone the repo using:
git clone https://github.com/11ty/eleventy-base-blog.git .
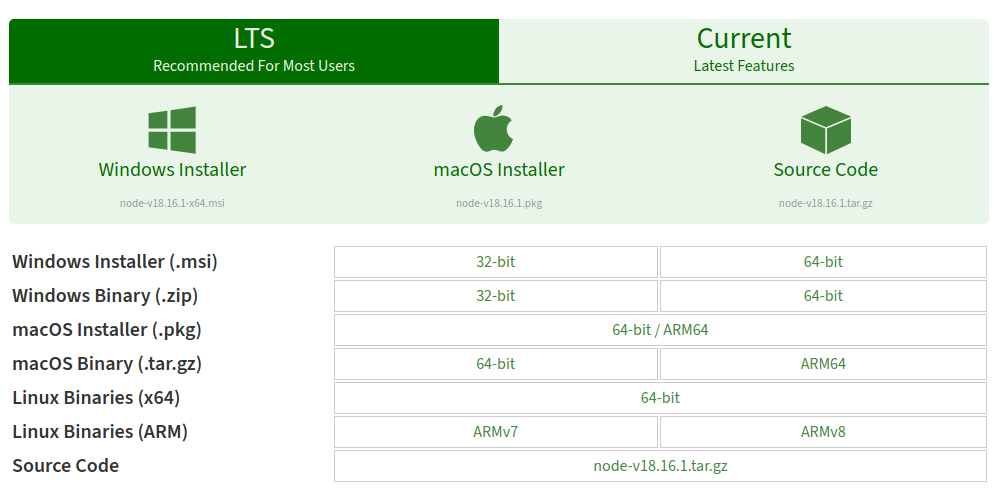
Make sure npm is installed
We’re going to need the package manager npm installed. This is cross platform so it should work on Windows, OSX, and Linux. It’s best to use a package manager to install npm to avoid permission issues. You can find more details on downloading and installing npm. Here you can find node.js installers for different operating systems. This is probably the most difficult step in the guide, but you can do it!
Install the Eleventy static site generator and sample blog template
First we want to run the command to install all the dependcies the Eleventy static site generator will need. After npm is installed on your system, navigate to where you unzipped the download. Then on the command line or terminal run:
npm install
Test what it looks like on a locally running server
Run this command to start up a local web server to see your blog running locally.
npx @11ty/eleventy --serve
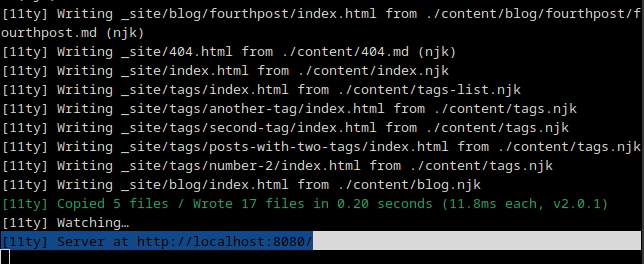
You should now be able to visit the site running locally at https://localhost:8080.
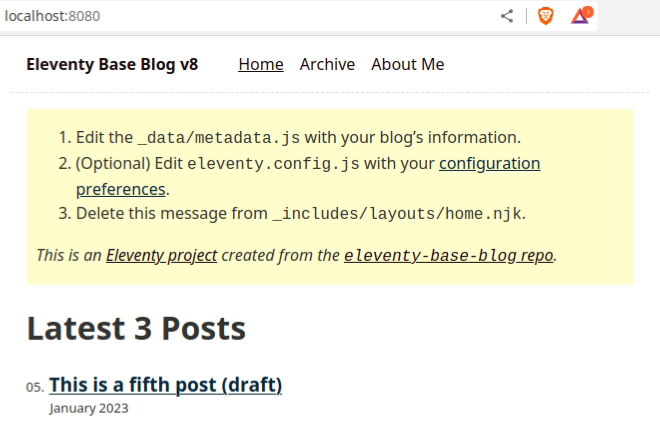
Make some content changes
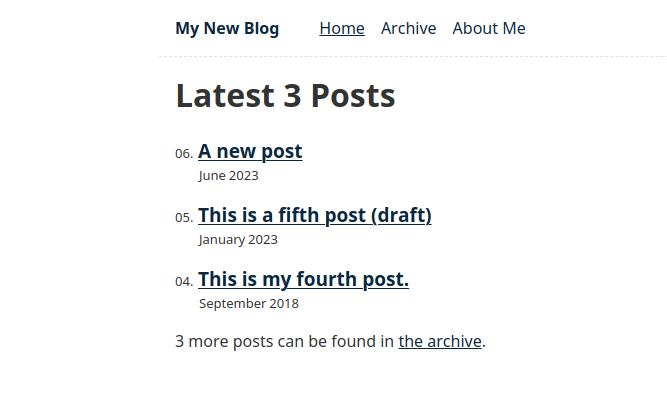
First modify the metadata for your site. For the base template we’re using you can find it here:
_data/metadata.js with your blog’s information
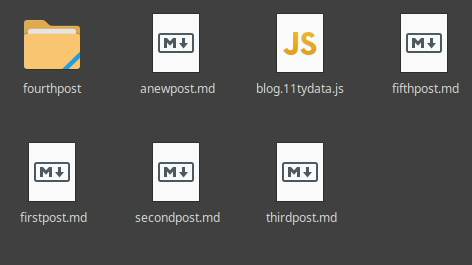
After, let’s add a new post. Create a new markdown file ending in .md and place it in the /content/blog folder. You can name it whatever as long as it ends in .md The “source” files for your blog will be in this /content folder. Browse around the file structure here and view the existing .md files and folders.
Images go in the "assets/images" folder in your working directory.
You can use the code snippet below in a markdown file named something like anewpost.md. The sample includes some of the metadata Eleventy will use(title, date, draft).
---
title: A new post
date: 2023-06-23
draft: false
---
This is a new post
Don’t forget to modify _includes/layouts/home.njk to remove the yellow metadata update reminder box. Go back to your browser and you will notice that the local web server will update with the changes you’ve made.
Build the site
You can hit Ctrl-C to stop the the local web server. Then let’s build the static version of the site we can upload to IPFS:
npx @11ty/eleventy
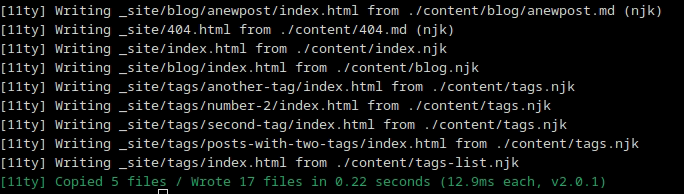
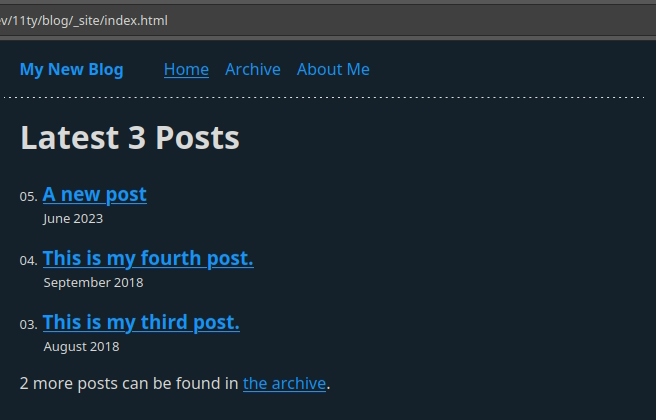
It will output to the _site folder of your working diretory. You can view the site by opening the index.html file in a web browser.
Host the files on IPFS using a local node
As you can see, now that the website is static there is no need for a web server to render the content. Everything is already rendered and optimized by the Eleventy static generator.
Now let’s copy the static files to IPFS so we can use that to host the website instead of a server. First download and install IPFS Desktop
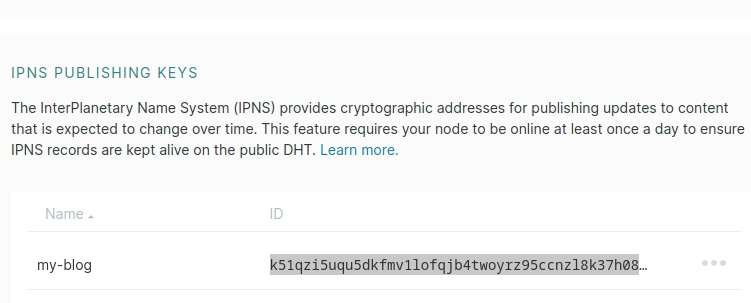
Setup IPNS
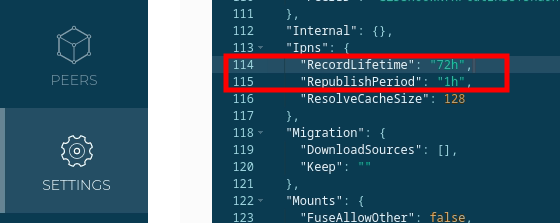
Let’s edit some of the settings for IPFS Desktop. We will also be using IPNS pointers instead of using just IPFS CIDs. We’ll do this so we don’t need to spend Ethereum gas fees to update our ENS records each time we change the static website content. On IPFS Desktop go under settings and generate a new IPNS Key.

Also adjust the lifetime and republish settings.
Copy your static website folder to IPFS
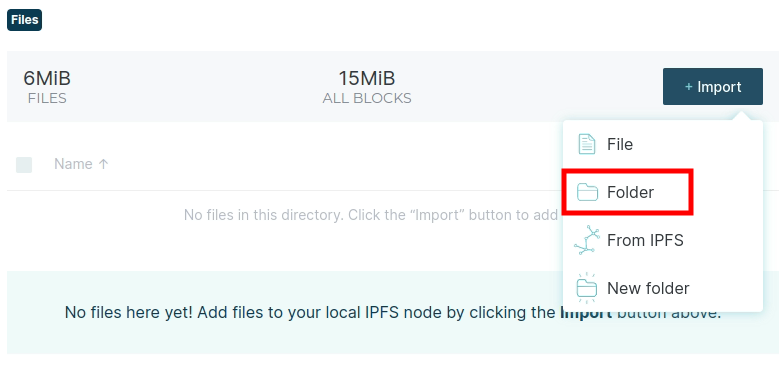
On IPFS Desktop, click Files, then click Import and select the folder _site from your Eleventy working directory. The content will get added to iPFS and your local node will share it with other peers.
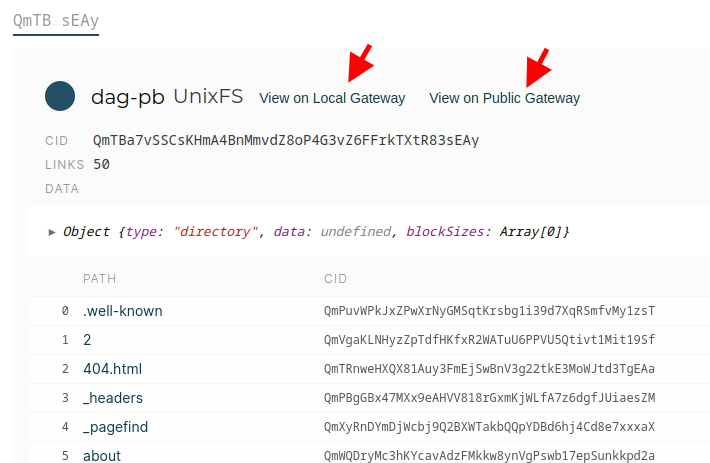
Find the CID of the IPFS content
Click the ... menu and select Inspect. Notate the CID for the IPFS content location as we may use this later with a pinning service for redundancy.

You can view the content through the browser using your own gateway, or a public one.
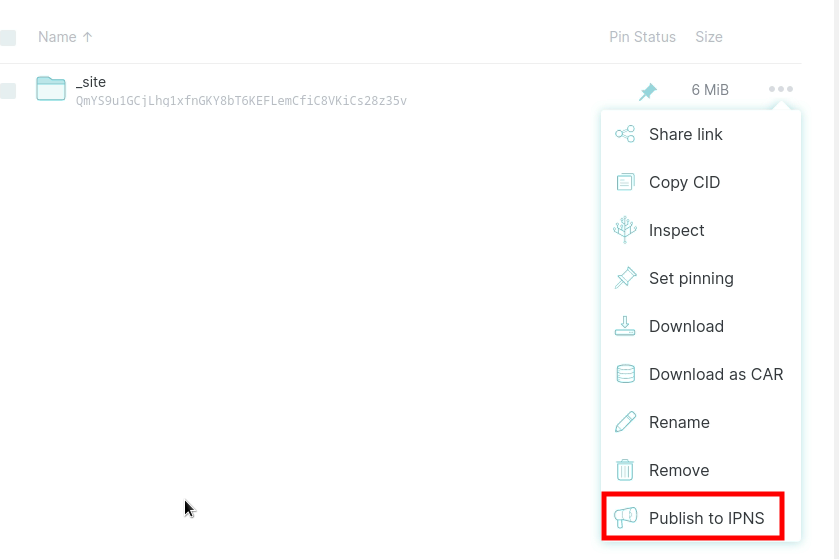
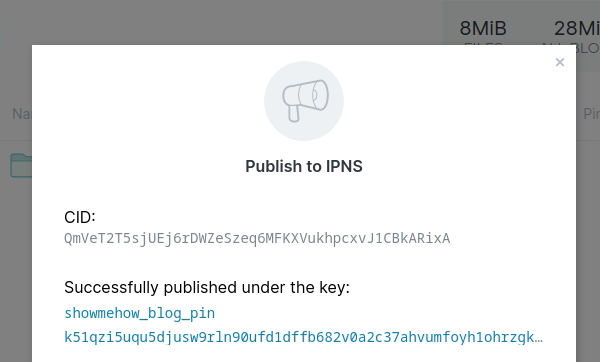
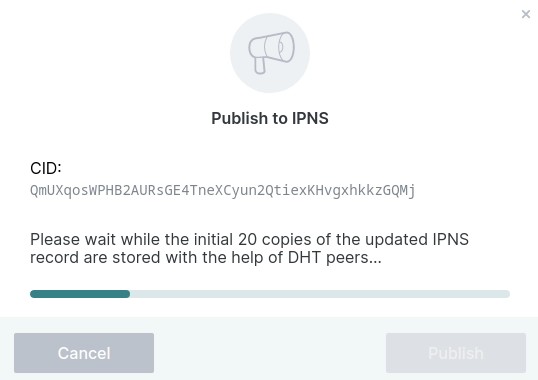
Publish the IPFS content to IPNS
In IPFS Desktop, under Settings click Publish to IPNS
Then, copy the IPNS location from the Settings page of IPFS Desktop.
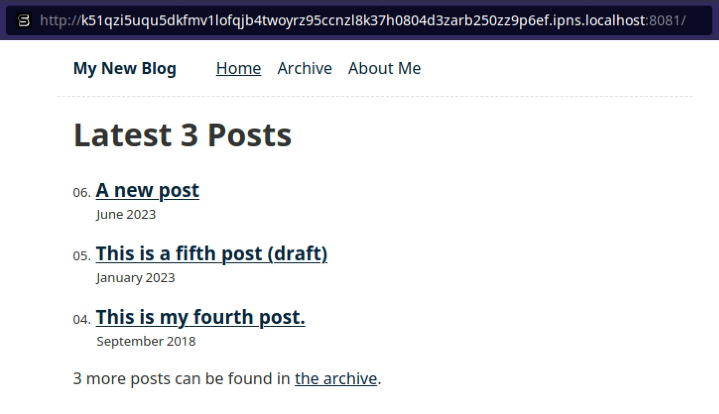
You can now open up a browser and visit:
http://k51qzi5uqu5dkfmv1lofqjb4twoyrz95ccnzl8k37h0804d3zarb250zz9p6ef.ipns.localhost:8081/
Replace k51qzi... with your own IPNS hash you copied from IPFS Desktop.
Store the decentralized content hash record for your ENS name
If we didn’t use IPNS, we’d need to update the ENS records each time. This is because when you upload content to IPFS, the hash is generated from the content itself. So for instance if users uploaded the same exact file, then that file’s(or directory) IPFS CID (eg. QmTBa7...) would be exactly the same. Since our _site folder will have different data each time we generate the site, it’s not going to be the same IPFS CID. To solve this we’re going to use an IPNS hash there which will point to the newest IPFS CID which we update using our local node running on IPFS Desktop.
Log into the ENS Manager App and click Edit Profile. Click on Website, then the IPFS button.

Copy in the IPNS location into the content record for your ENS name.
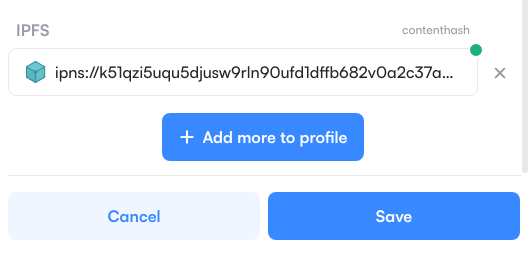
It should be in this format: ipns://k51qzi5.... Approve the transaction with your connected wallet.
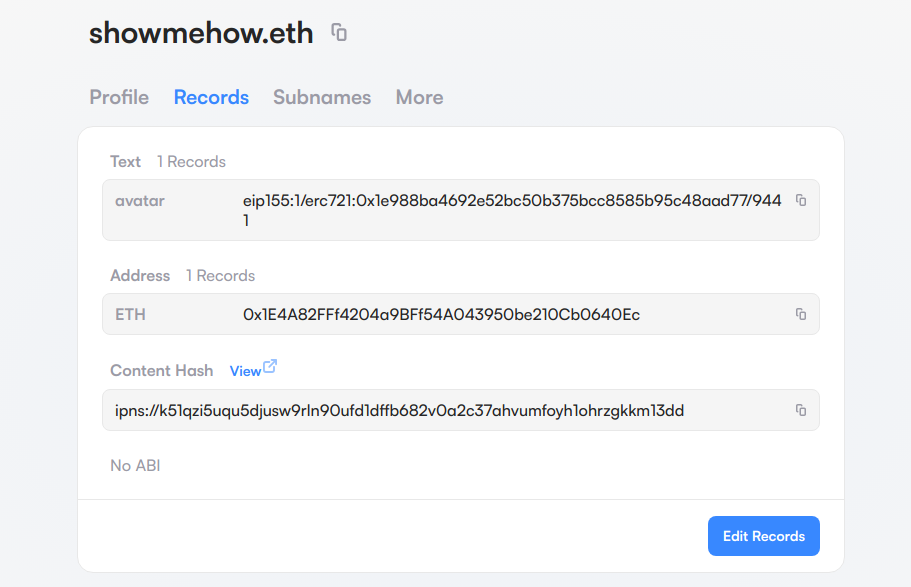
Use the .LIMO resolver to view your decentralized website
Once your ENS name’s content record is set, you can use a resolver like .limo to render the site on any browser. Simply append .limo to the end of the ENS name that has a content record set. So for instance this blog can be reached at, showmehow.eth.limo. The .limo resolver uses a gateway to fetch the content hash from the ENS records.
Pin the IPFS CID externally
You can pin the IPFS CID to an external pinning service like Pinata. This provides some redundancy and higher data speeds by utilizing a faster node compared to the locally running node with IPFS Desktop. As visitors access your site and nodes retrieve the IPFS data, the caching of recent content fetches by nodes on the IPFS network enables faster delivery of the data.

An alternative pinning service is Lighthouse.storage. You can upload the same exact _site folder there, and your IPFS CID should match the one on your IPFS Desktop. This is because it is the same exact folder, identical bit by bit. The difference is that the content is not only pinned to your local IPFS nodenow, but also through a third party IPFS service like Lighthouse. Take a look at the IPFS CID in Lighthouse.
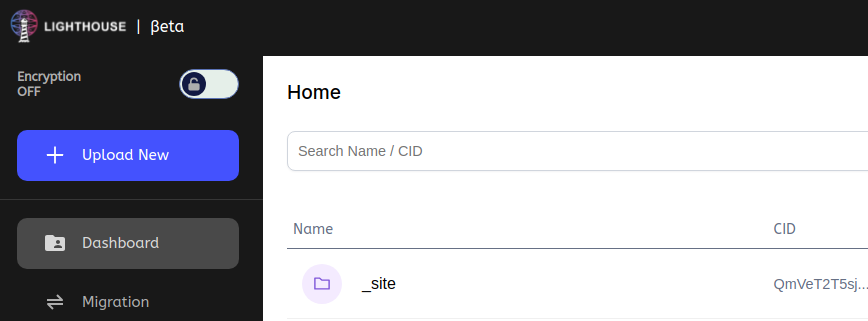
Compare that to the IPFS CID you uploaded the same _site folder within IPFS Desktop.
Upload a new version of the static site
To change your website content, delete the _site folder from IPFS Desktop. Then from the command line you will need to rebuild the _site folder by running:
npx @11ty/eleventy
After, import the new _site folder into your Files on IPFS Desktop. You will notice the IPFS CID has changed because the file contents have as well. Don’t forget to publish to IPNS again on IPFS Desktop. This will update the IPNS pointer to your new IPFS CID.
No updating of ENS records is necessary. Using the .limo resolver after your ENS name should soon show the new content. Remember to pin or upload the new _site folder to other nodes like Pinata or Lighthouse. This way your data persistance doesn’t rely on a single IPFS node for content pinning.